Popular Posts

Sunday 1 October 2017

Avocado Chocolate Cake!

I was intrigued when this cake inspiration popped up on my Facebook page.  An avocado chocolate cake?!  Beetroot yes, carrot yes, even courgette, but I'd never heard of avocado in a cake before!  I wanted to give it a go as I have several friends who are vegan and I always find vegan cakes struggle to rise due to the lack of eggs and, as a result, I find the texture very dense.  I try every vegan cake recipe I stumble across, searching for that rare treasure, a light, fluffy vegan cake.  This one was a stunner!  Absolutely delicious, you cannot taste even the hint of avocado, rich, decadent and light as air - I definitely recommend.


Full recipe here - https://www.bbcgoodfood.com/recipes/chocolate-avocado-cake

Ingredients


  • a little dairy-free sunflower spread, for greasing
  • 1 large, ripe avocado  (about 150g)
  • 300g light muscovado sugar
  • 350g gluten-free plain flour
  • 50g good quality cocoa powder
  • 1 tsp bicarbonate of soda
  • 2 tsp gluten-free baking powder
  • 400ml unsweetened soya milk
  • 150ml vegetable oil
  • 2 tsp vanilla extract


Method

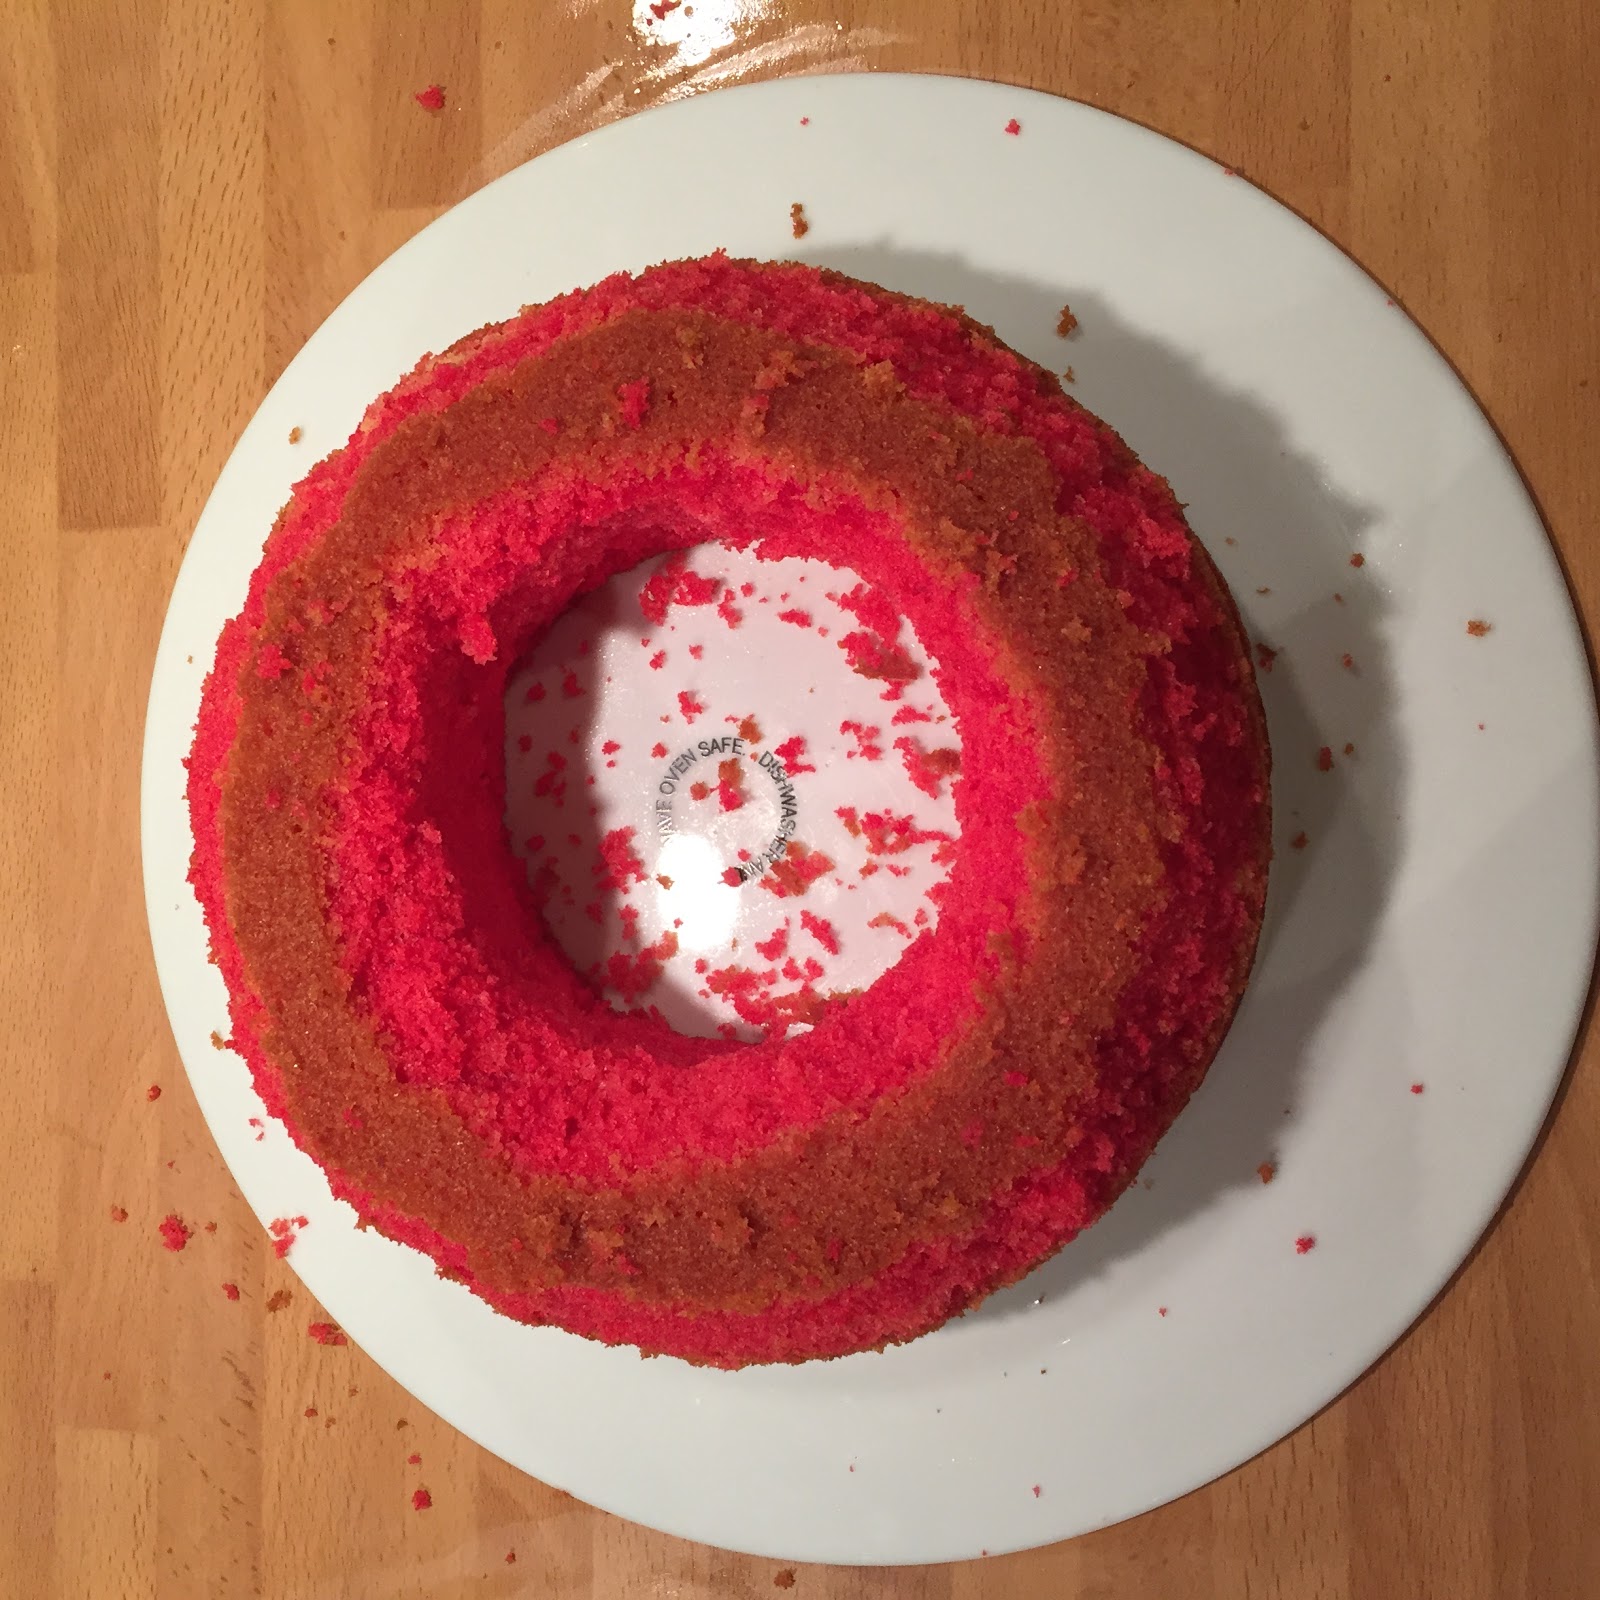
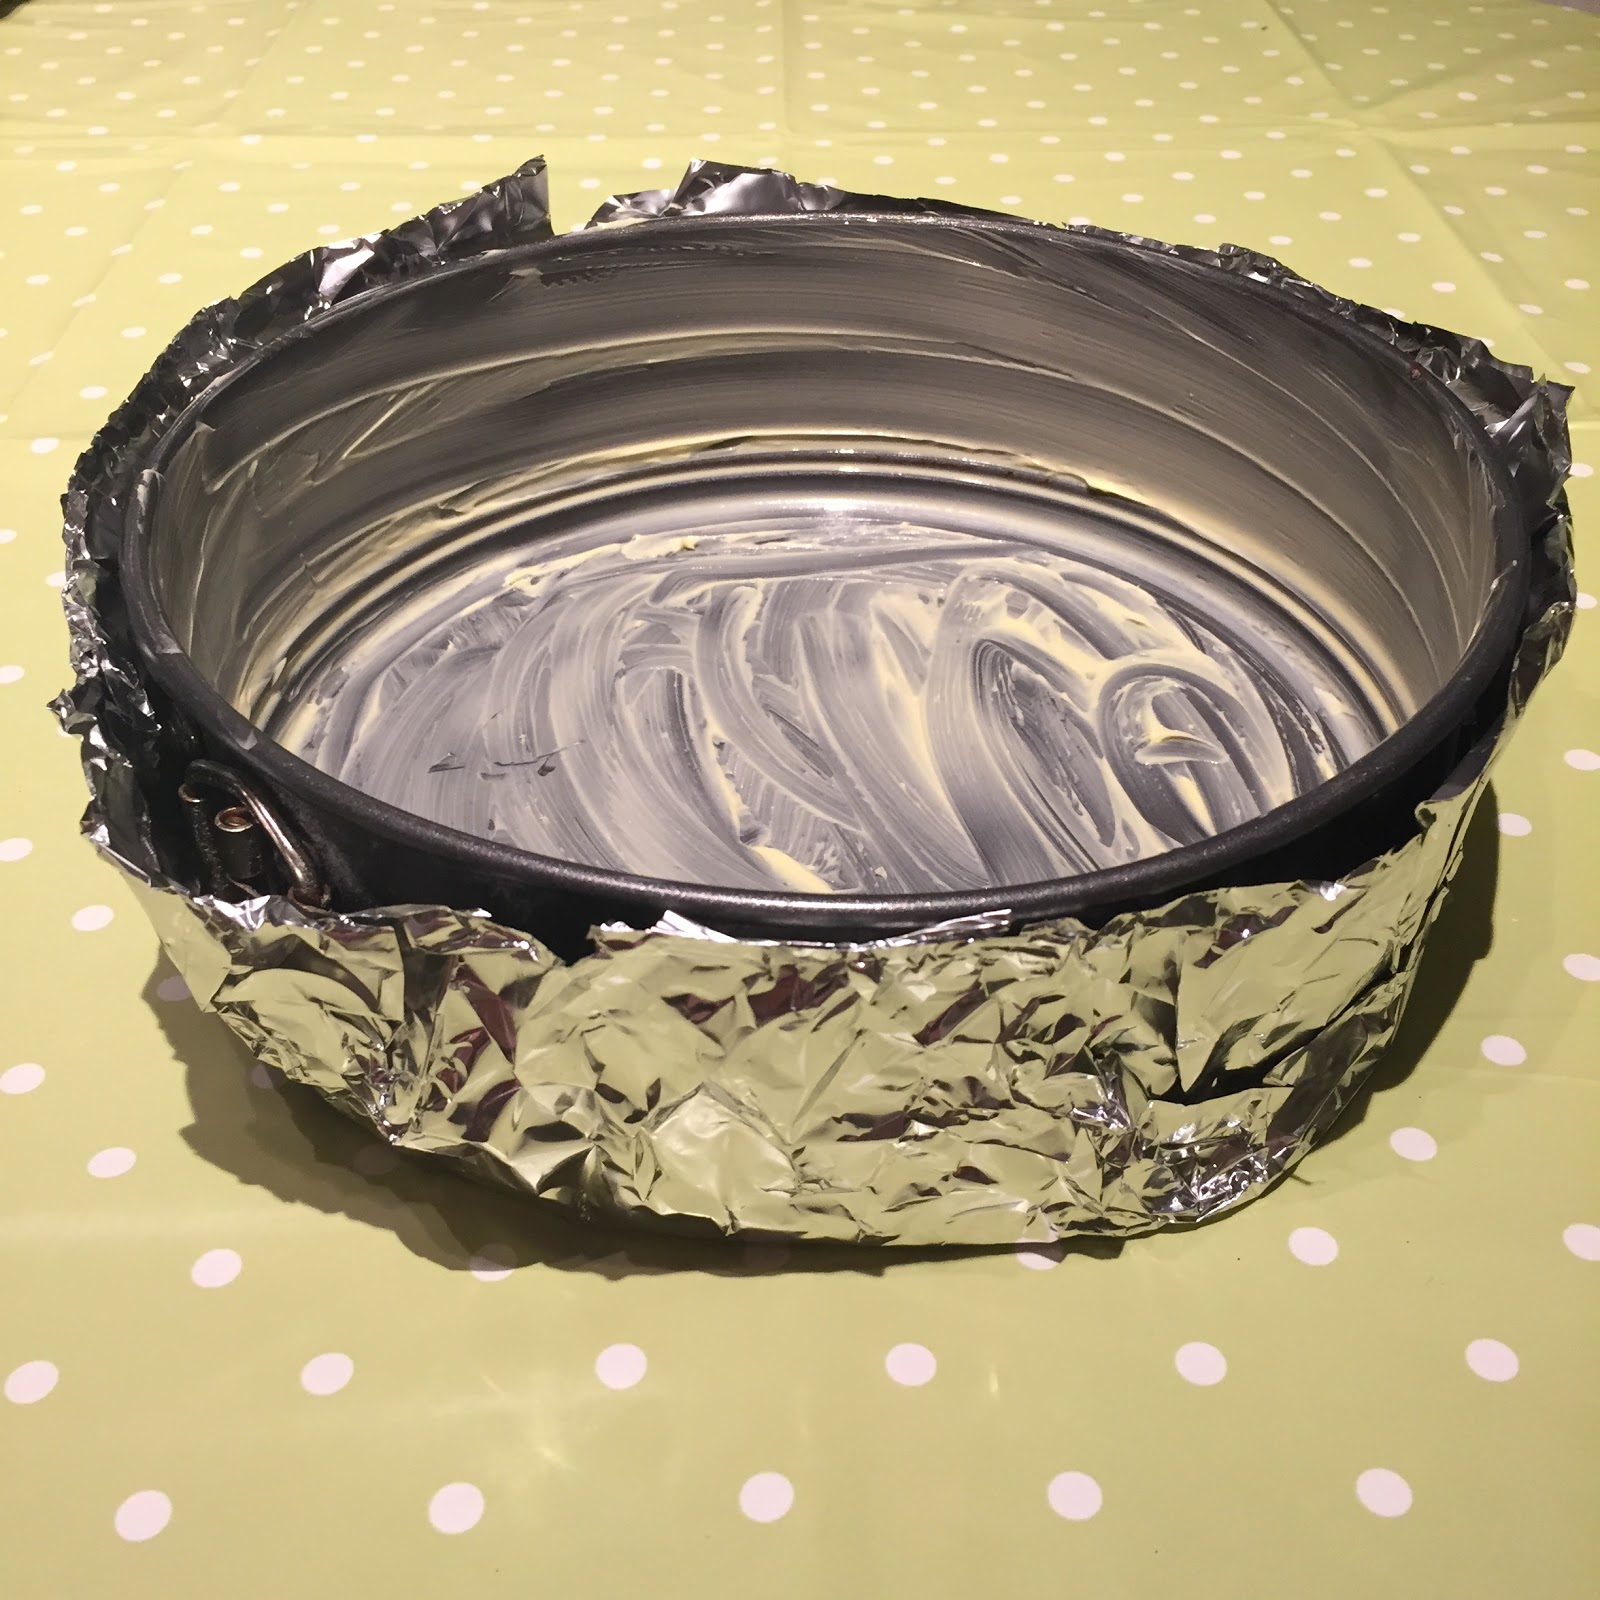
  1. Pre-heat oven to 160C or 140C fan.  Grease and line 2 x 20cm sandwich tins.  (Side note - you can now get 40 ready cut round cake liners of various sizes from Poundland!  I think £1 is a bargain for not having to fuss around cutting greaseproof paper up!)
  2. Whizz the avocado and sugar in a food processor until smooth.  Add the rest of the cake ingredients (plus 1/2 teaspoon fine sea salt) whizz again.
  3. Divide equally between the tins and bake for 25 minutes (or until fully risen and a skewer comes out clean.)
Easy peasy simple pimple!


Now, I deviated from the recipe when it came to decoration.  As usual, I didn't have all the ingredients for the ganache and couldn't be bothered to go to the shops!  I used my favourite buttercream recipe.  I'm afaid I can't tell you the exact amount I used as I kept adding more until I had the right amount, but it was roughly these ratios...


  • 1 cup vegan butter (I used Pure sunflower spread)
  • 2 1/2 cups of icing sugar
  • 1/2 cup cocoa powder
  • salt (to taste)

I always use salted butter in my non-vegan bakes, to offset the sweetness of the icing sugar.  I couldn't find salted vegan butter, so I added salt until it tasted right!

I didn't really have a plan in my head for decoration, I just made it up as I went along!


  1. Put a little buttercream on your presentation plate to keep the cake still.  Set one cake on top of the buttercream and spread with a thicker layer of buttercream.  Top with the other cake.
  2. Cover the whole cake in a thin layer of buttercream.  This is often called the 'crumb coat' as it sticks down all the crumbs and gives you a really smooth finish.  Chill the cake in the fridge (or the freezer if you're in a rush) until the crumb layer has firmed.  (This step is a little harder with vegan butter as it doesn't go as firm as dairy butter.  Maybe try the freezer to make it a little firmer!)
  3. When the crumb coat is firm, remove the cake from the fridge.  Decorate with a thicker layer of buttercream (using a palette knife for a smoother finish).  Again, I reccommend chilling the cake before the next step.
  4. There are several options for covering the cake with hundreds and thousands.  Some methods reccommend just pressing them against the cake but I found this very inefficient.  The most efficient method I found was to fill a tray with hundreds and thousands and roll the cake in them!  You want the cake to be really cold if you're trying this method.  Mine wasn't quite cold enough which is why it looks a little squashed!  Again, might be easier with dairy butter.
  5. To make the chocolate decorations, I melted white vegan chocolate and milk vegan chocolate seperately and poured into piping bags,  It's very tricky to judge as you want the chocolate to cool down enough so it doesn't just run everywhere but you also want it viscous enough that you can actually pipe with it and that it doesn't block up the piping bag!  I piped the outlines first then squirted a load of chocoalte into the outline and used a skewer to spread it around.  I only made one at a time because they set quite quickly!  You want to let them set completely at room temperature, then put in the fridge to harden further.  Never put them in the fridge before they've set, you'll get white marks all over them and they'll look awful.
  6. Arrange your chosen shapes in any way you want!  I did large at the back reducing in size to small at the front which I think looked quite effective!
My score: 4/5  Super easy to make but the vegan butter does make decorating a little more difficult.

Julia's Top Tips
  • Be patient!  Let the cake cool and the chocolate cool as much as possible - they'll be much easier to work with!
  • Experiment with decoration techniques - I originally piped rosettes over mine but decided it looked too 70s and spread it all out flat again!  Icing is very forgiving so don't be afraid to try different styles out before choosing your final finish.
  • Always use salt in your icing - it balances the flavours and stops your teeth from aching!
Keeeeeeeeeeep baking!


Monday 13 February 2017

My Go-To Never-Fail Cookie Recipe!

My brother and I first stumbled across these delicious cookies on one of our many trips to New York.  We'd booked a food tour in Greenwich Village and our final stop was Milk and Cookies.  We had our first taste of cookie heaven, still warm from the oven.  My brother insisted on going back the next day for more and bought me the cookbook so I could make more when we returned to England!  


They are super easy to make and I really recommend buying the book as it has so many different recipes and they are all super easy but mouth-wateringly good!  I mostly use the classic chocolate chip recipe and adapt the extras to whatever I feel like.  My two most common are double chocolate chip or white chocolate chip with cranberries and sour cherries.  

 Ingredients

  • 7 1/2 ounces rolled oats
  • 8 ounces plain flour
  • 1 tsp baking powder
  • 1 tsp baking soda
  • 1/2 tsp salt
  • 12 ounces unsalted butter
  • 7 ounces granulated sugar
  • 7 ounces light brown sugar
  • 2 large eggs
  • 1/2 tbsp vanilla extract

Method

Step One: Make the Dough
Preheat the oven to 350F/180C/160C fan.  Whizz the oats in a food processor.  When they are finely ground, pour them into a mixing bowl and stir in the flour, baking powder, baking soda and salt.  In a separate bowl, beat the butter on a low speed until soft.  Beat on a medium speed until light and creamy.  Keep beating continuously as you add the granulated sugar followed by the brown sugar.  When it is really light and creamy, add the eggs one at a time.  If the mixture looks like it's going to curdle, add a spoonful of the dry ingredients as you mix.  Fold in the vanilla and the rest of the dry ingredients - do not overmix!


Step Two: Add the flavours
Now's the time to add whatever cookie flavours you prefer most.  

  • Double chocolate chip - add 2 cups of semisweet chocolate chunks and 2 cups of bittersweet chocolate curls and fold in
  • White chocolate, cranberry and sour cherry - add 2 cups of white chocolate chips, 1 cup sour cherries and 1 cup dried cranberries and fold in
  • M and M's - add 3 cups of M and M's and fold in
  • Peanut butter and chocolate chip - beat in 1 cup peanut butter before you add the eggs, then fold in 2 cups dark chocolate chips at the end
Experiment and see what works for you!


Step Three: Bake the Cookies
Roll tablespoons of the mixture between your hands and place them widely spaced on a lined baking sheet.  Press down with the back of a spoon, then bake for about 15 minutes.  Cool on a wire rack and then eat them warm!


I often make a double batch and freeze some for later - just place in a freezer-safe bowl, cover in parchment and foil and freeze for up to three months.  Get the dough out of the freezer the night before you want to bake and follow Step Three as above.


 My score: 5/5 Super easy!  Delicious on their own or white ice cream and chocolate sauce! 

Julia's Top Tips

  • Don't over mix the dough - it doesn't matter if it's a little streaky.
  • Try different flavour combinations and see what works - go crazy! :)
  • Oven times vary so watch your cookies carefully - mine are sometimes done after 12 minutes


Saturday 7 January 2017

Happy Birthday Hedgehog Cake!

Every year, I make my husband an elaborate birthday cake.  Last year, for his 29th birthday, I made him an R2D2 cake.  I really wasn't sure how to top that this year for his 30th.  Some of the ideas I thought of were a Millenium Falcon cake or a tank cake, but Dan decided he wanted a chocolatey chocolate cake covered with chocolate :)  His favourite animal is a hedgehog, and his favourite chocolate is flake, so, after seeing a hedgehog cake on instagram, I knew that's what I had to make.


This is my go-to chocolate cake recipe for shaped cakes.  It's made with egg whites so it's very strong and easy to cut and shape.  It's from this book, Contemporary Cake Decorating Bible.  I find it really useful because it has ratios for different cake shapes and sizes, so you can adjust it to suit your own cake tins.  

These ratios are for a 7inch cake tin (greased and lined):

  • 225g plain chocolate
  • 175g unsalted butter
  • 115g caster sugar
  • 6 large eggs
  • 40g icing sugar
  • 175g self-raising flour
Step One: Make the Cake
Preheat the oven to 180C (160C fan).  Melt the chocolate and set aside to cool a little.  Cream the butter and sugar in a large bowl until pale and fluffy.  Separate the eggs and add the yolks to the creamed butter and sugar.  Now that the chocolate has cooled slightly, add the melted chocolate to the egg yolks, butter and sugar.  In a separate glass bowl, whisk the egg whites to soft peaks.  (Glass is best for whisking egg whites in).  Gradually add the icing sugar to the egg whites.
Sift the flour into another bowl.  Slowly fold in a spoonful of egg whites into the chocolate mixture (using a large metal spoon) followed by a spoonful of flour.  Repeat until everything is folded in.  Gently pour into the prepared tin and bake for about an hour.  Test with a skewer - if there is still cake mix sticking to it, bake for another 15 minutes.  Once a skewer comes out clean, allow the cake to cool completely in the tin, then wrap in foil and rest overnight before cutting and shaping.

Step Two:  Cut and Assemble the Cake 
Cut the cake in half and fill with chocolate buttercream.  I always use 1 cup salted butter to 3 cups icing sugar for buttercream, plus 2 tsp vanilla extract.  For chocolate, swap one tbsp of icing sugar for cocoa powder.  Beat the butter until very creamy, then slowly add the icing sugar and cocoa powder until you have a spreadable buttercream.  


Go to this website for a full tutorial for assembling the hedgehog cake.  

Once you have filled the cake, cut the cake into sections like this:


The little parts can be frozen for another time (or eaten whilst you are decorating the cake!) Place the rounded parts on top of the cake to make the hedgehog shape:


Step Three: Decorate the Cake
Cover the entire cake with buttercream, then cover with flakes.  You will need to cut them to the correct length, so the shorter 'spines' are at the front of the cake, and the longer 'spines' are towards the back.  Make the hedgehog face using giant chocolate buttons and a glace cherry!


I used leftover flake crumbs to cover the area between the spines, and to create the 'forest floor' effect.  I also made some cupcakes and decorated them green for 'grass'.

My score: 4/5 Reasonably tricky but well worth it :) A very Happy Birthday cake!

Julia's Top Tips
  • DON'T make your hedgehog too tall - I did and it looked a bit bizarre (another reason for the cupcakes was to hide its height!)  Trim a bit off your cake if it is looking too tall.
  • You want a stiff buttercream so that the whole creation holds it shape - use a bit of extra icing sugar and store the finished cake in the fridge so the flakes don't fall out if soft icing!
  • Don't worry if it looks a bit messy, it adds to the overall rustic woodland effect! ;)

Keeeeeep baking!


Friday 30 December 2016

The Great St. Ives Bake Off!

You all know by now how obsessed I am with Bake Off, so when I saw an advert for the Great St. Ives Bake Off I knew I had to compete!  Even better, it was for charity - £5 to enter, then they sold your cake off for £2 a slice to raise even more money :)

Even if I hadn't won (which I did :p) I would still have been proud of myself.  This is the best-looking cake I've ever made, tasted amazing, and I basically devised the whole recipe myself by adapting 3 different recipes.  

Carry on reading to discover how you too can create an award winning cake! ;)


Ingredients 
Sorry all are in different measures!

For the brownie layer (adapted from Blissful Brownies)

  • 2oz unsalted butter
  • 1 1/2 oz plain flour
  • 1/4 tsp baking powder
  • 1 oz cocoa powder
  • 1 egg
  • 3 oz caster sugar
  • 1/2 tsp vanilla extract
  • 1/4 tsp almond extract
  • 2 1/2 oz glace cherries, halved

For the pink cake (adapted from Peek-A-Boo Cakes)

  • 100g unsalted butter
  • 100g caster sugar
  • 2 large eggs
  • 100g self raising flour
  • 20g ground almonds
  • a little pink food colouring (gel or paste not liquid)

For the white cake (adapted from Peek-A-Boo Cakes)

  • 400g unsalted butter
  • 400g caster sugar
  • 6 large eggs
  • 400g self raising flour
  • 200g ground almonds
  • 3 tsp almond extract
  • 6 tablespoons whole milk

To decorate

  • whole glace cherries
  • 3 cups salted butter
  • 9 cups icing sugar
  • 1 tablespoon vanilla essence
  • a little pink food colouring (gel or paste not liquid)
Method
Step One: Make the brownie layer
This layer makes the chocolate icing effect of the hidden cupcake design.  Grease and line a 7-inch cake pan and pre-heat the oven to 180C (160C fan).  
Melt the butter in a large saucepan over a medium heat.  When melted, remove from the heat and whisk in the cocoa, sugar, vanilla extract and almond extract.  Beat in the eggs last, as the mixture will be cooler and you won't end up with scrambled eggs!
Sift in the flour and baking powder and add the cherries.  Fold until just combined.  Pour into the tin and bake for about 15 mins, until just firm to the touch.  Leave to cool for 10 mins i the tin then transfer to a cooling rack.


When it is completely cool, cut a circle in the centre of the brownie (3 inches in diameter)

Step Two: Make the pink layer
This layer makes the cupcake part of the hidden cupcake design.  Grease and line a 7-inch cake pan and pre-heat the oven to 160C (140C fan).  
Cream the butter and sugar until pale and creamy.  Add the eggs one at a time, along with a spoonful of flour to stop the mixture curdling.  Sift in the rest of the flour, then fold in the flour and ground almonds.  Add a decent amount of pink gel food colouring (a blob about the size of your little finger nail) and fold in so you get a deep pink colour mixture.  Pour into the pan and smooth, then bake for 25-30 mins until a skewer comes out clean.  


 Allow to cool in the tin for 10 mins then turn out onto a wire rack to cool completely.  Once cool, cut a circle in the centre of the cake (3 inches in diameter) and taper the sides (so that when it is cut it will look like a cupcake!)


Step Three: Make the white cake
This makes the rest of the cake.  Grease and line a 9-inch cake pan and pre-heat the oven to 160C (140C fan).  Cream the butter and sugar until pale and creamy.  Add the eggs one at a time, along with a spoonful of flour to stop the mixture curdling.  Sift in the rest of the flour, then fold in the flour, ground almonds, whole milk and almond essence.  


Pipe a thin layer into the cake pan, then place the pink layer (tapered side down) onto the white mix and push down gently.  Pipe more white cake mix around the outside of the pink cake and inside the hole.  When the white mix is level with the pink cake, place the brownie layer on top.  Pipe a very thin layer on top of the brownie, then place whole glace cherries all around the top of the brownie layer.  This will be the cherry on top of the hidden cupcake design.  Very carefully, so you don't disturb the cherries, pipe more white cake mix all over until the hidden design is, well, hidden!  


This is a biiiiiiiiiig cake, and will take 1 1/2 - 2 hours to bake.  Bake until a skewer inserted in the centre hole comes out clean - you can always put tin foil over the top to stop it from browning.  Leave to cool in the tin, then turn out onto a wire rack.

Step Four: Decorate!
I found this video very useful when learning to pipe ombre roses!


Also, this website was useful for the ratio of butter to icing sugar!
http://www.52kitchenadventures.com/2012/08/30/how-to-frost-an-ombre-rose-cake/

I beat the butter in my electric mixer first until it's really creamy.  Then I beat in the icing sugar a little at a time, otherwise it goes EVERYWHERE.  Use a little of the icing to give the cake a quick crumb coat.  This is just a thin layer of icing all over the cake to catch the crumbs, so that your top layer is clean and beautiful.
Split the remaining icing equally into 3 bowls.  Keep 1/3 pure and creamy, add 1 or 2 drops of pink gel food colouring to the 2nd bowl, and 3 or 4 drops to the 3rd bowl.  Mix until the colour is really even,  You can always add more colouring if you want a stronger colour - I wanted a very subtle, pastel ombre look.  
Starting at the bottom, using a Wilton 1M tip, fill your piping bag with the darkest pink.  Using an anti-clockwise motion, pipe the roses around the bottom of the cake, slightly overlapping.  (Watch the video above to see what I mean!)  Feel free to practise on some baking paper first, and you can always scrape off any roses that go wonky!
Once you have dark pink roses all the way round, repeat with the lighter pink for the middle row, then top the cake with cream roses.  The results are spectacular!


My score: 4/5 A real showstopper!  The only thing that stops it being 5/5 is the time and effort required - this is not a cake for beginners!

Julia's Top Tips

  • Read the recipe REALLY carefully - there's a lot of ingredients and actions to remember!
  • DON'T overmix any of the cakes or they won't rise and will be really rubbery.
  • You need a whole day to make this cake and a reasonable amount of expertise - this is not an easy cake, but it is worth it because it is very impressive and absolutely delicious!
I was especially proud of this cake because it was the most difficult and spectacular cake I had ever made - and I won star baker!  My prize was a tour of the local independent bakery, Tom's Cakes, plus a one-to one sugarcraft masterclass.  I'm going in January so I'll keep you updated!


Thursday 29 December 2016

Christmas Catch Up!

Wow! Just went through all my baking photos and realised how many recipes I have made over the last two months and NOT uploaded on here!

Here's a taster of what I will be posting over the next few days...


My go-to cookie recipe...


My charity Christmas cake...


Christmas cupcakes...


A hedgehog cake for my husband's 30th birthday...


A competition winner...


Hopefully I'll get it all done by the time I go back to work!  


Sunday 30 October 2016

This is Halloween!: Red Velvet Cheesecake Skyscraper


Halloween is my 2nd favourite holiday (Christmas is obviously my favourite!) and we always go all out every year!  Our annual Halloween party has costumes, decorations, quizzes... and, as always, cake!


This year, I decided to make a red velvet cheesecake skyscraper cake, inspired by Junior's cheesecake in NYC.  https://www.juniorscheesecake.com  My brother and I have been obsessed since our first visit - you must have at least one slice in your lifetime!

I am super chuffed with how it turned out (even though there were one or two pitfalls along the way!) and everyone agreed that it tasted phenomenal! 

IMPORTANT: You must make the cake and the cheesecake the day before so they can cool completely overnight before assembling!

I based the majority of the recipe on the Carrot Cake skyscraper book from Junior's recipe book - https://www.amazon.co.uk/Juniors-Cheesecake-Cookbook-die-York-style/dp/1561588806

The red velvet part I took from the BBC Good Food website - http://www.bbcgoodfood.com/recipes/freaky-finger-red-velvet-cake

Annoyingly, they do use different measuring systems due to Americanisms!

Ingredients

    For the red velvet cake

    • 175g soft butter , plus extra for greasing
    • 225g white caster sugar
    • 1 tsp vanilla extract
    • 3 large eggs , at room temperature
    • 1 tbsp red food colouring paste 
    • 200g plain flour
    • 50g cocoa powder 
    • 1½ tsp bicarbonate of soda

    • ½ tsp baking powder
    • ¼ tsp salt
    • 150g pot low-fat plain yoghurt , loosened with 2 tbsp milk

    For the cheesecake

    • 1 1/2lbs of full fat cream cheese
    • 1 1/3 cups caster sugar
    • 3 tbsps cornstarch
    • 1 tbsp pure vanilla extract
    • 2 extra large eggs (equivalent to 8tbsp of beaten egg)
    • 2/3 cup heavy or whipping cream

    For the cream cheese frosting

    • 1 1/2lbs of full fat cream cheese
    • 1 cup unsalted butter (I used salted)
    • 1 1/2lbs of icing sugar
    • 1 tbsp pure vanilla extract
    • 1/4 cup heavy or whipping cream

    Method

    Step One: Make the Red Velvet Cake
    This is one of my favourite kinds of cake!  Heat the oven to 180C (160C fan) and grease and sugar a 9-inch cake pan.  Cream the butter, sugar and vanilla, then add the eggs, one at a time, beating after each.  If your mixture curdles, add 1 spoonful of flour and it will sort it out!


    • Beat in the colouring until combined.  Sift all the dry ingredients together, then fold in HALF the dry ingredients (capitalised because I didn't read the instructions properly and chucked it all in!) and HALF the yoghurt and milk mix.  THEN fold in the other HALF of the dry ingredients and the other HALF of the yoghurt and milk mix.  


    Finally, tip it into the tin and level it off.  Bake for 25-30 mins until springy and a skewer comes out clean.  Cool in the tin for 10 mins, then turn out onto a wire rack to cool overnight.


    Step Two: Make the Cheesecake
    Preheat the oven to 180C (160C fan) and butter the bottom and sides of a 9 inch springform pan.  Wrap the outside of the pan in tin foil.  Mix 8oz of cream cheese, 1/3 cup of sugar and the cornstarch with an electric mixer on a low speed until creamy.  Add the rest of the cream cheese (a bit at a time) then scrape down the sides.  Increase the speed to medium and add the rest fo the sugar and the vanilla then the eggs (1 at a time).  Beat in the cream until completely blended.  Spoon the mixture into the pan and place it into a large shallow roasting pan full of hot water - it should come about halfway up the sides of your cheesecake pan.  Bake for about 1 1/4 hours until lightly brown.


    (Mine was too brown!)  Cool in the tin for at least 2 hours, then take off the foil and wrap the whole cheesecake and pan in cling film.  Refrigerate until completely cold, then place in the freezer overnight.

    Step Three: Make the Buttercream
    Beat the cream cheese and butter together on high speed until creamy.  I always use salted butter in all my buttercreams - it offsets the sweetness of the icing sugar.  (Also, mix icing in a large bowl because otherwise icing sugar goes everywhere.)  Add the icing sugar slowly, folding in slightly before beating (this stops it from flying everywhere).  Add the vanilla and the cream, then mix until smooth.  Clingfilm and refrigerate overnight so it's nice and firm.  


    Step Four: Cheesecake - Assemble!
    Take everything out of the fridge/freezer ten minutes before you want to assemble the cake. Cut the cake in half horizontally.  Put one half onto your serving plate and spread the top with some of the icing.  Remove the cheesecake from it's pan and place on top and spread with more buttercream.  Finally, lay the other half of the cake on top.  Cover the whole thing with the rest of the buttercream.

    To create the spider design, pipe concentric circles on top with red gel icing.  Using a skewer, drag the tip of the skewer from the centre to the outside to create the spider web.


    My score: 5/5 Relatively easy, but does need some forward planning.  A real showstopper!  Can be adapted to all kinds of different flavours - I've made a carrot cake one and a chocolate one before.  :)

    Julia's Top Tips

    • Be organised!  Make everything the day before your party, assemble it the afternoon of your party and store in the fridge.
    • Experiment with different flavour and designs.  You could try carrot cake, chocolate cake, funfetti cake, caramel cake...  the opportunities are endless!
    • Always use salted butter in your buttercream!

    Happy Halloween!!